How To Apply.
Below are the data required to request a conference site.
Kindly provide data as below:
- Title
- URL: conference.iium.edu.my/<yourconferencesitename> i.e. : conference.iium.edu.my/conference01
- Purpose of the conference
- Department
- Person in charge
- Phone number
Email to our ICT Services Help Desk at servicedesk@iium.edu.my or you can call the extension at 6666.
The process will be in three working days.
How To Customize
You may refer to WordPress website to customize your site.
The administrator will provide the site as below, for example site conference 01.
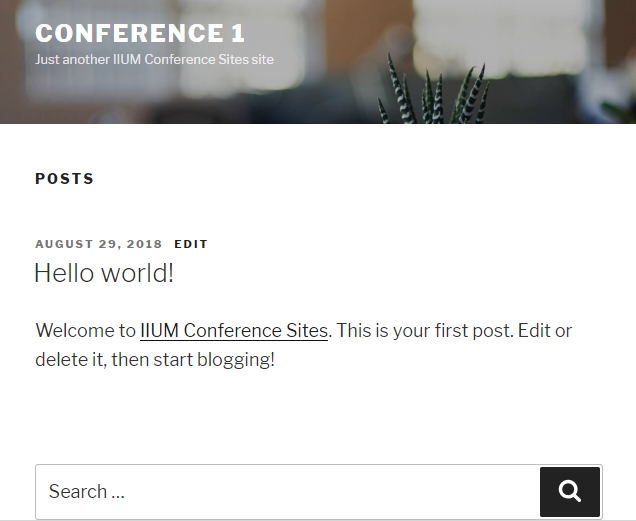
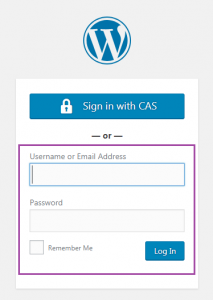
Scroll down and log in to your site so you can setup the site. Or type URL https://conference.iium.edu.my/<your conference name>/wp-admin

Login to the site
Alternatively, for IIUM staff, the system integrate with Single Sign On (CAS). Kindly click Sign in with CAS button to login. Enter your credential using your email ID and password (HURIS)

For external users, kindly login with your username or email address and password to login. This is setup by the staff administrator for that site.
You may view the Dashboard page as below.
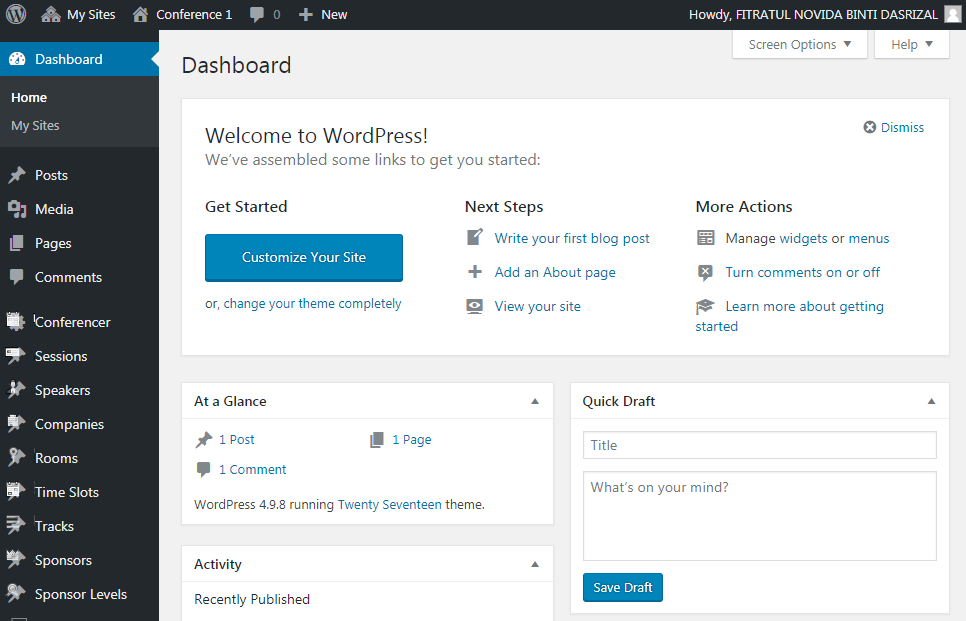
Dashboard
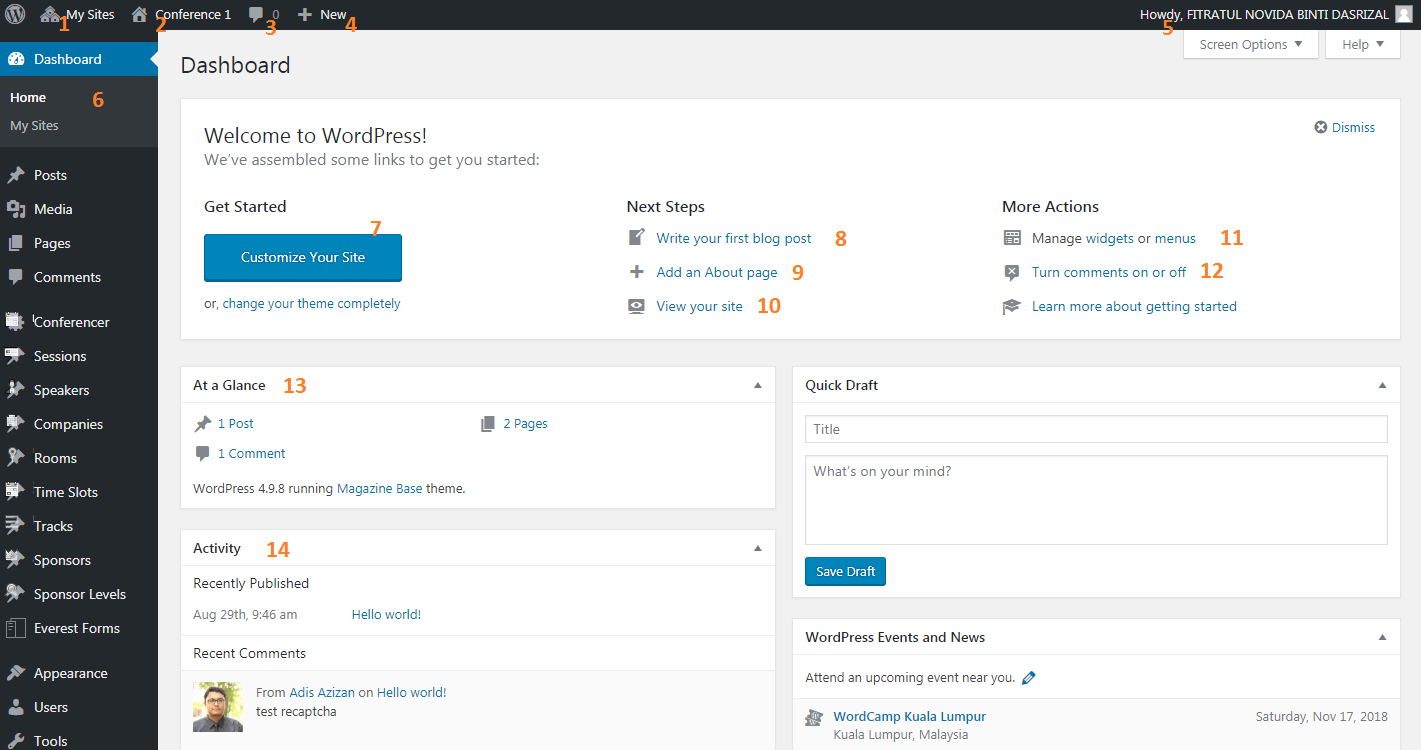
Figure below shows the dashboard of the site. All the setting can be done here.
- View all sites that have been created and managed by user.
- View user site
- View comment
- Create new page. Post or others
- View user profile
- Site Menu to manage user site
- To customize your site for example changed theme
- User may write their first blog post
- User may add an About page
- User may view their site
- User may manage site widget or menus
- User may turn the comments on or off
- View total number of post, pages and comment that have been created
- View the site activity
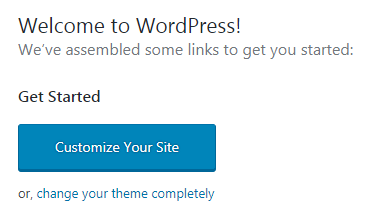
Customize Your Site
Click button Customize Your Site
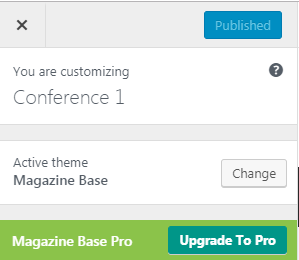
Click button Change
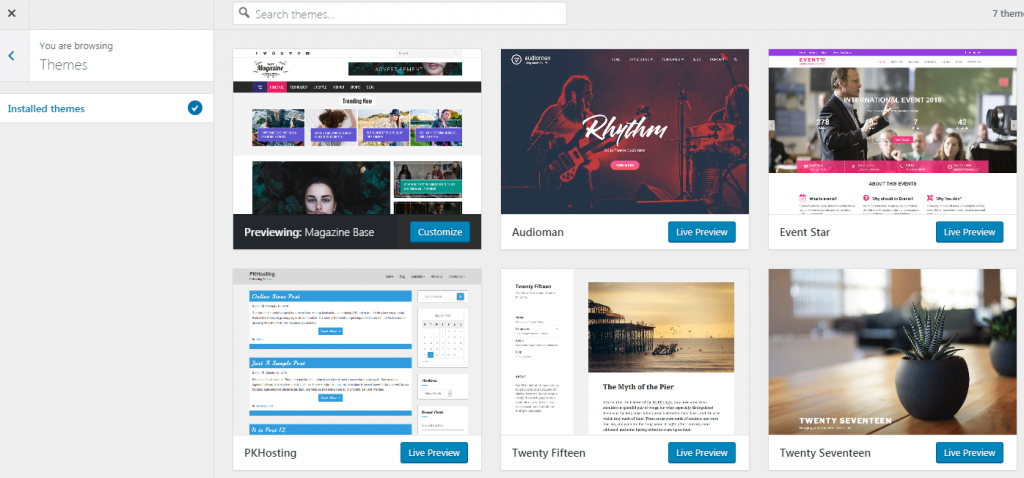
Choose and click the theme for your site
New Post
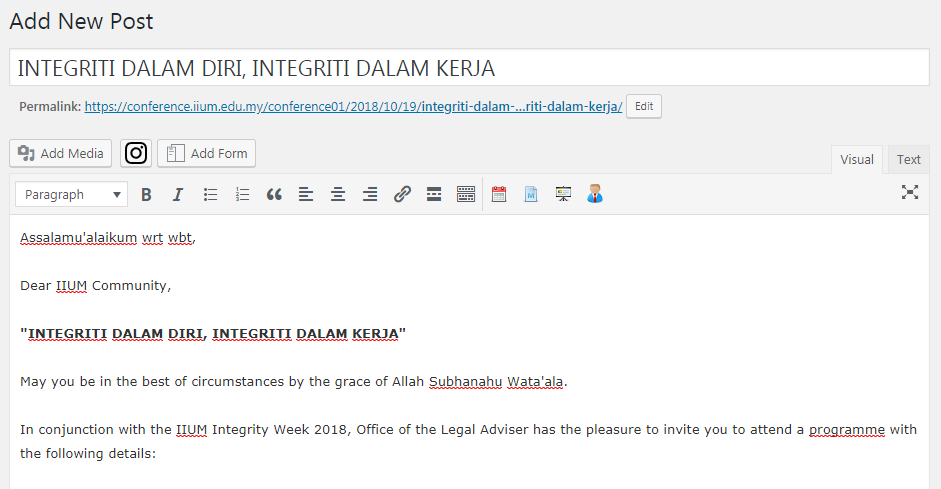
Create a new post by click button Posts – > Add New
Fill in the title and details of your post. Click button Add Media to insert an image in your post.
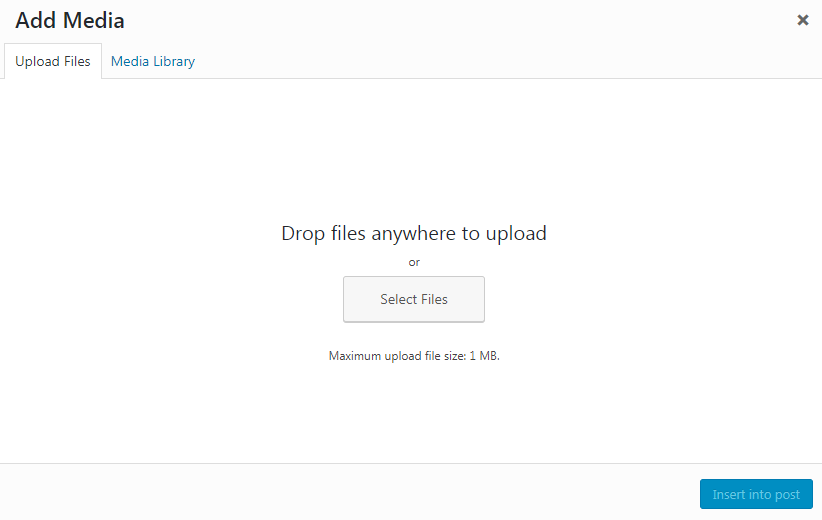
Click Uploads Files, if you want to insert a new image or click Media Library to get the image that are already in the site library
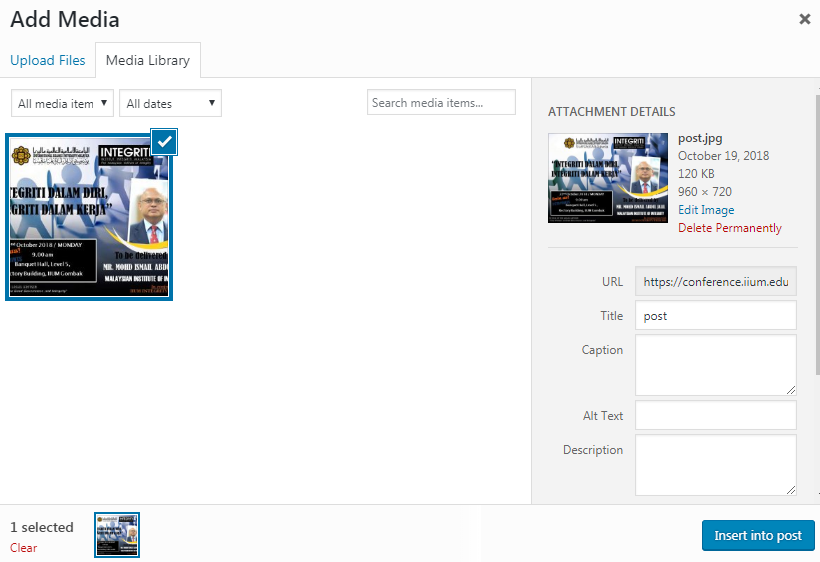
Choose the image and click button Insert into post. You may click the link Edit Image for display setting in site.
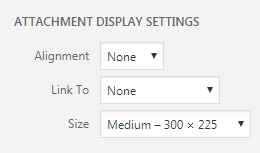
The attachment display setting, you may set the alignment of the image, link or size.
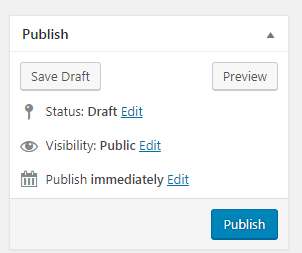
Click the button publish to view the new post
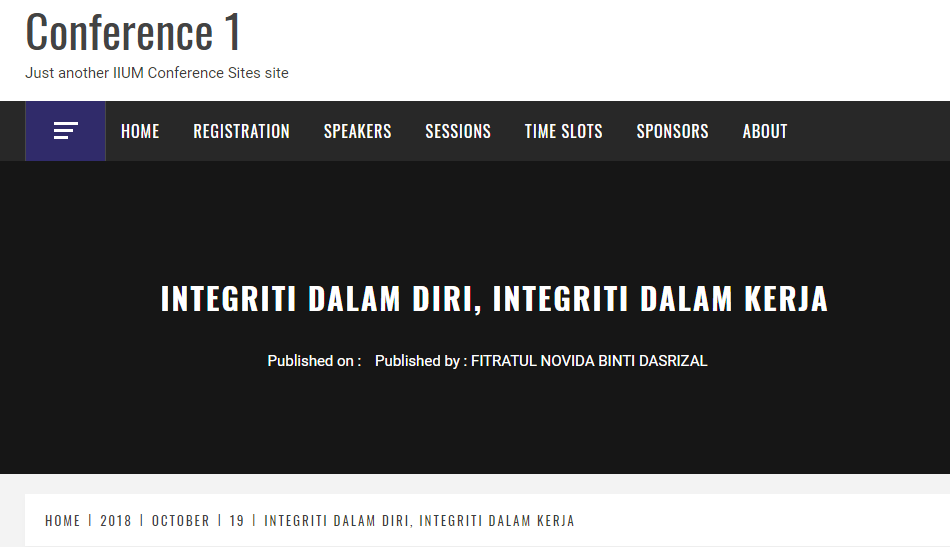
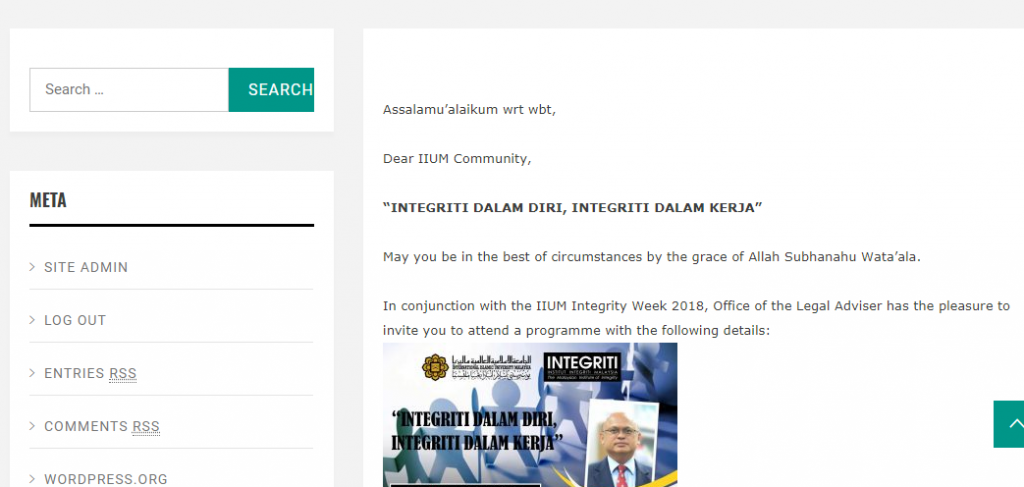
The new post was publish in the site
New Page
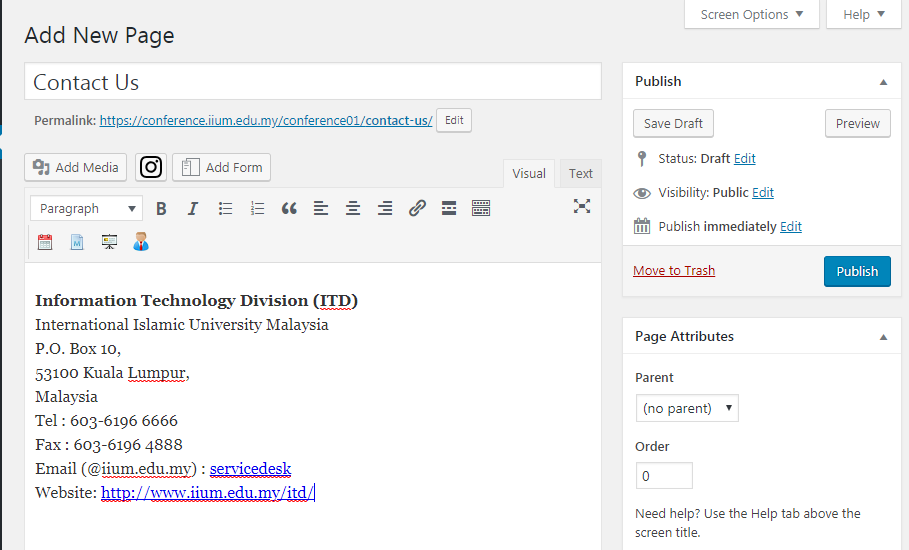
Create a new page by click button Pages – > Add New
Fill in the title and details of your page. Click button Publish
The new page was publish in the site
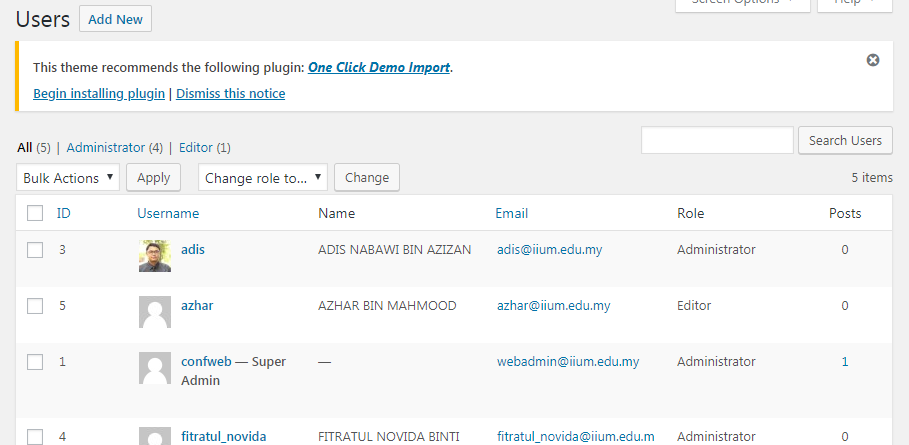
Manage User
Click button Add New
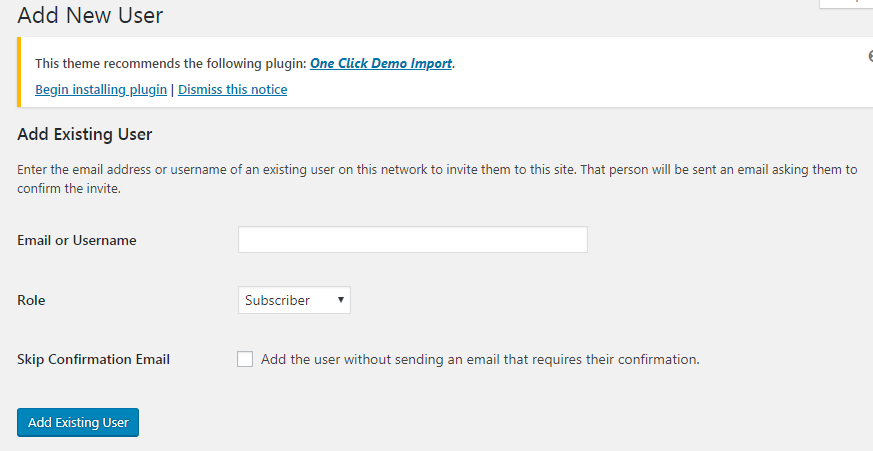
You may insert the existing user or add new user.
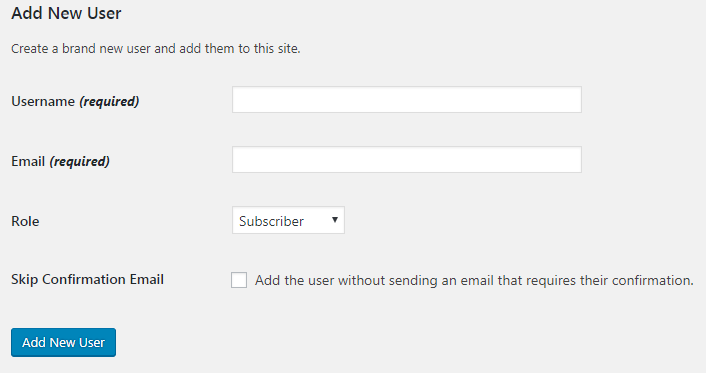
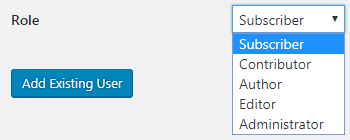
You may change the role according to role below
Setting
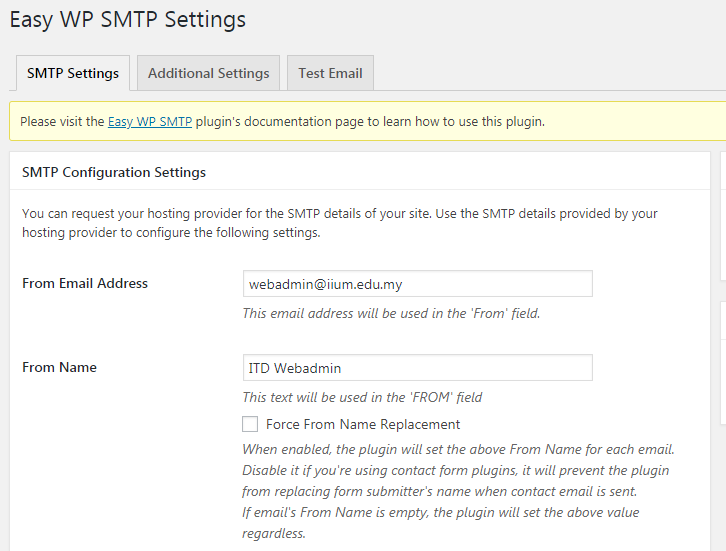
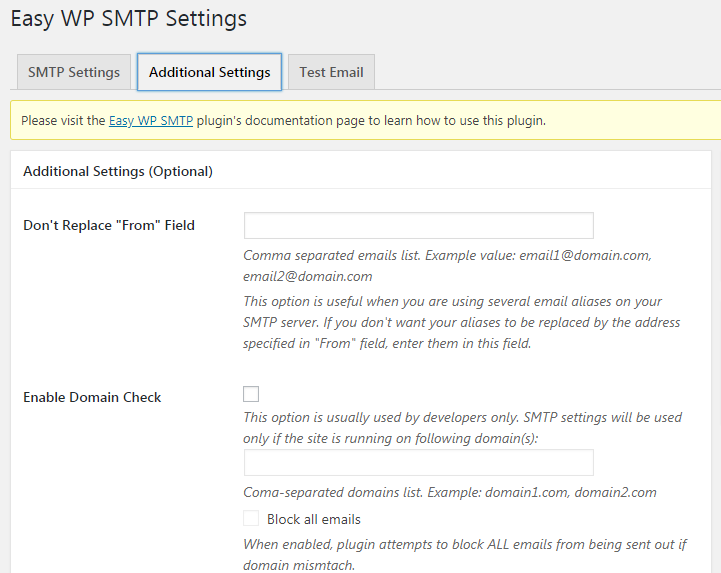
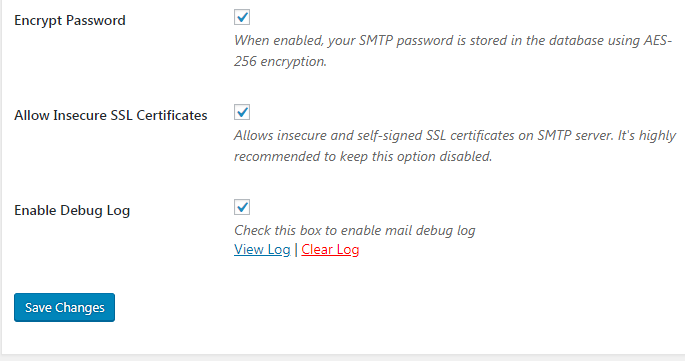
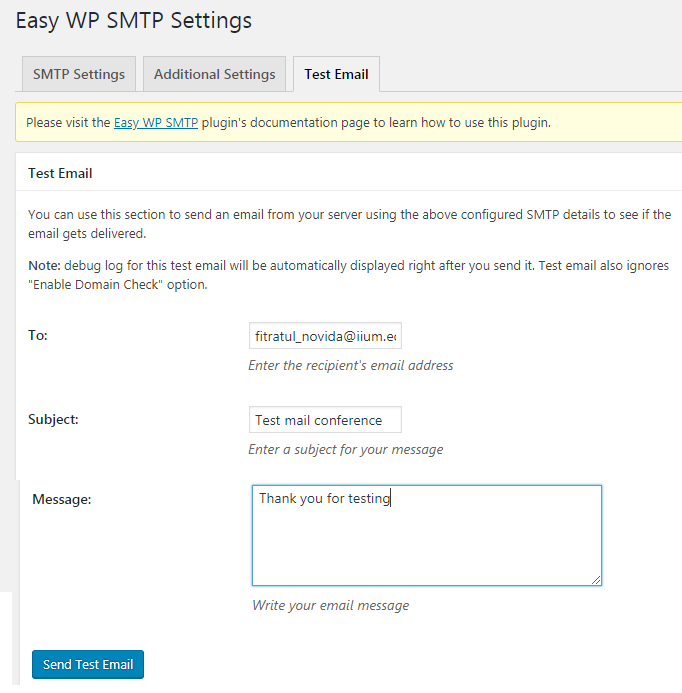
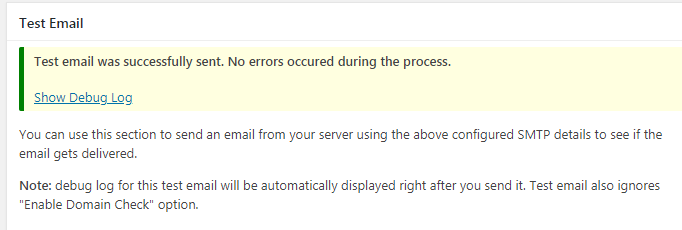
Easy WP SMTP Settings
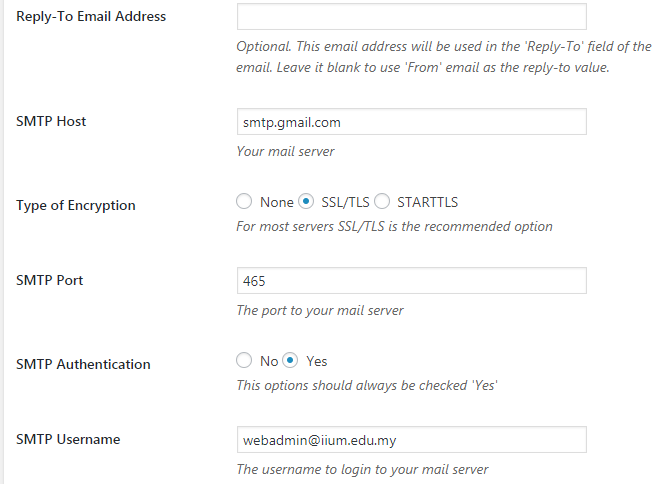
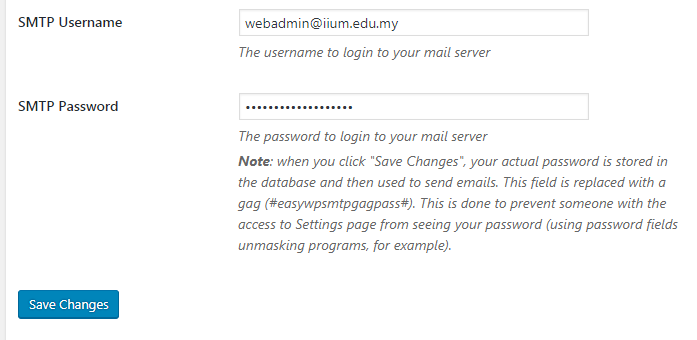
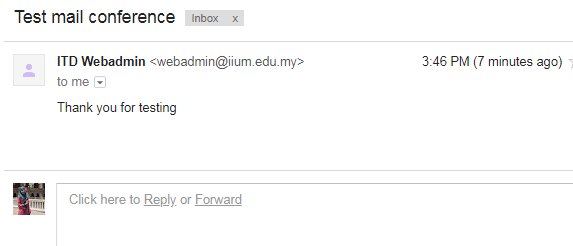
Fill up data belows and click button Save Changes
- From Email Address
- From Name
- SMTP Host set to smtp.gmail.com
- SMTP Port set to 465
- SMTP Authentication choose Yes
- SMTP Username : your conference email
- SMTP Password : your conference email password
Google Analytic
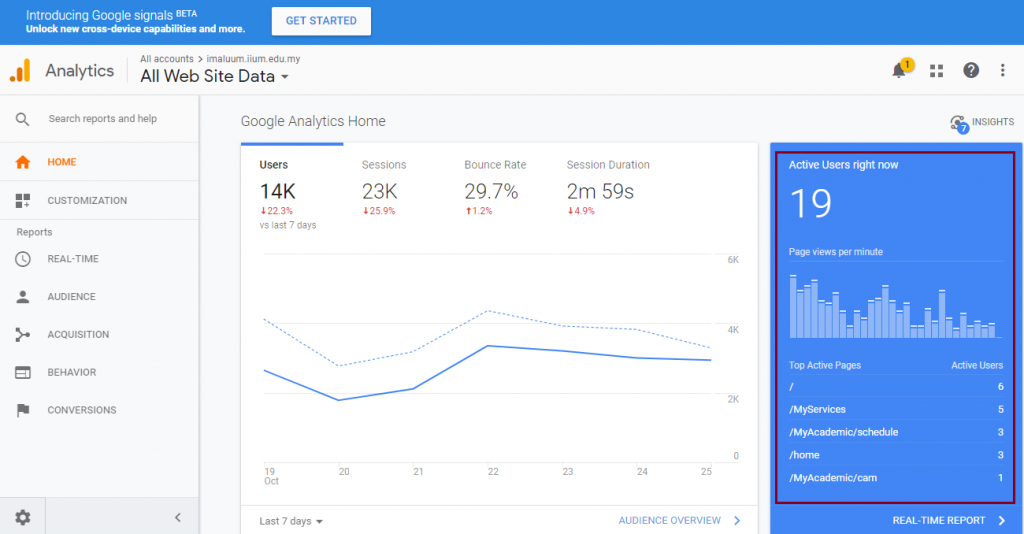
Google Analytics is a free web analytics tool offered by Google to help you analyze your website traffic. For example as shown in figure below, i-Ma’luum (Student Portal). We may see there are 19 Active Users used i-Ma’luum.
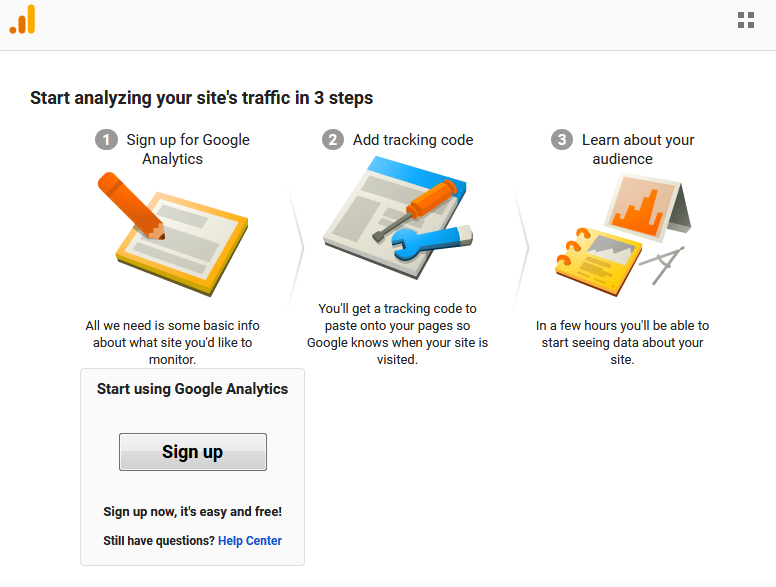
Got to browser and search Google Analytic or click this link https://analytics.google.com/analytics/web/
Figure below is shown after you browse the Google Analytic. Click button Sign up.
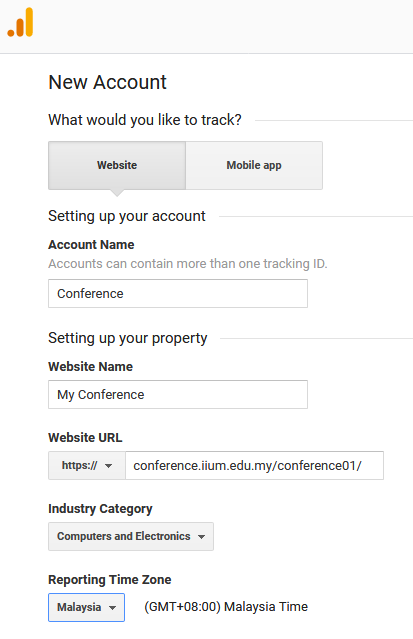
Choose which one you will prefer to track either Website or Mobile app
Fill in detail of Account Name, Website Name and Website URL
Choose your Industry Category and Reporting Time Zone.
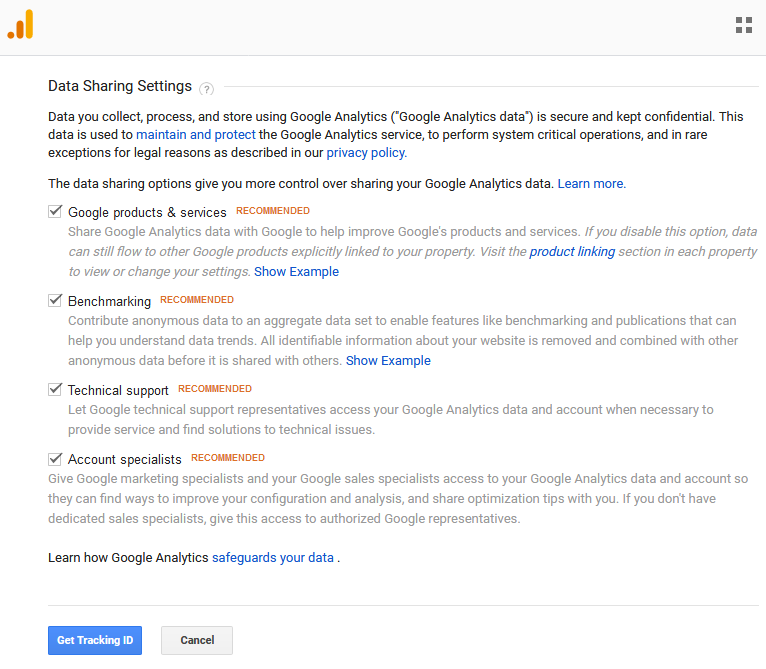
Click button Get Tracking ID and copy the tracking ID provided by Google Analytic.
Back to Conference site setting. (Settings -> Google Analytics)
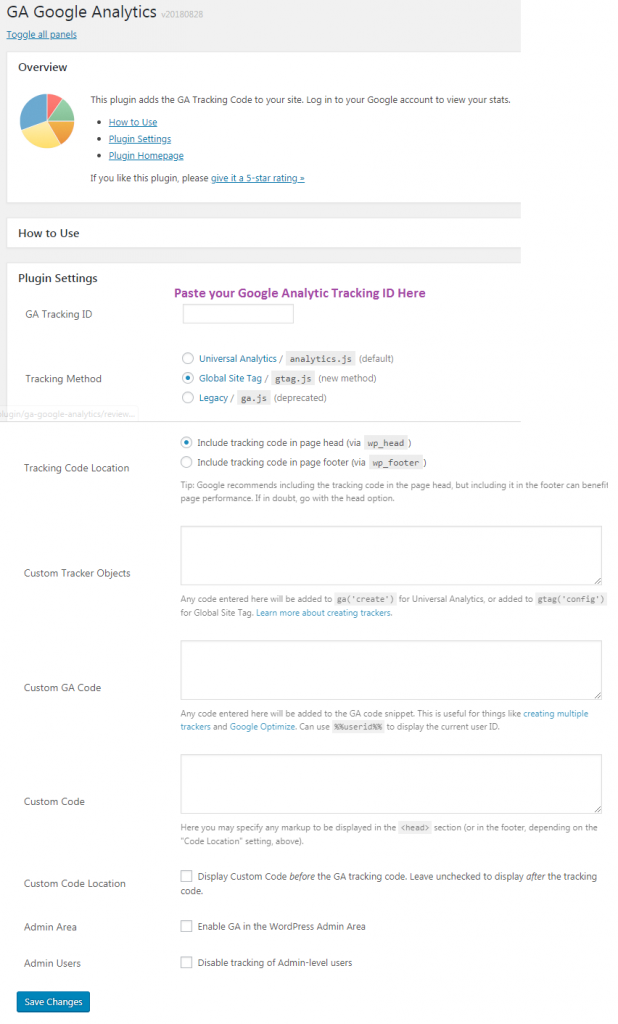
Click button Save Changes
Links you may refer:
- https://www.siteground.com/tutorials/wordpress/customize-themes/
- https://easywpguide.com/wordpress-manual/
- https://www.hostinger.com/tutorials/wordpress/#gref

